
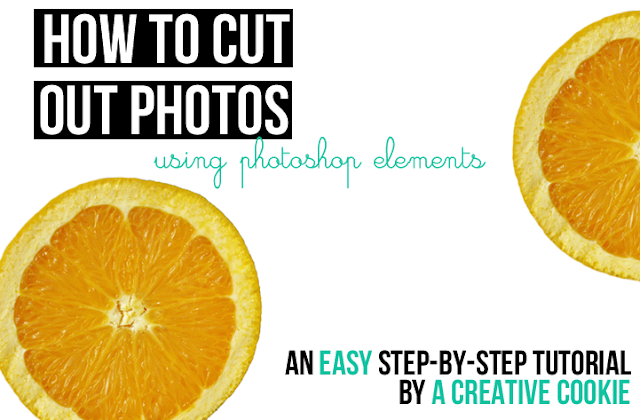
Lately I've been making "stickers" using Photoshop. Basically my "stickers" are made out of my drawings and cutout photos with transparent backgrounds so I can paste it onto any background (like the oranges in the image above).
Today I am going to show you how to cut out photos so you can make your own 'stickers'. It is pretty easy and can be done in about five minutes. I don't know if most people already know this, becuase it's pretty basic, but I'm just gonna say this is for Photoshop beginners.
The program I am using in this tutorial is Photoshop Elements 8, but I bet if you had CS or another version of PSE, this would still work fine because I use basic tools.

Start by opening your photo. I used one that contrasted very well (the blue and the orange) and was very easy to cut out (almost a perfect circle).

Start by using the Quick Selection Tool and drag it around your orange (or whatever shape you're cutting out). Once it is selected, hit delete.


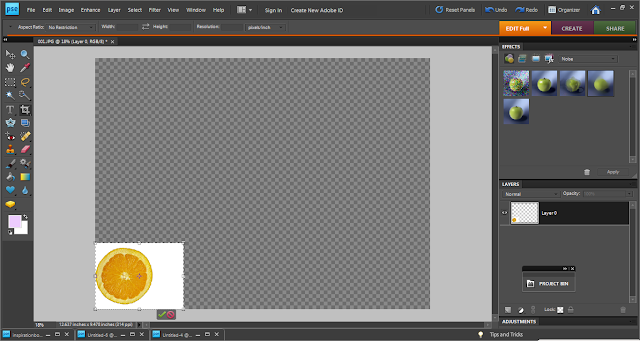
Our photo is still locked as a background, so we need to make it a layer, as shown above.
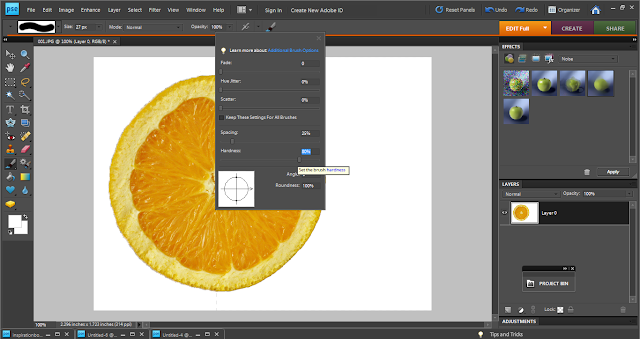
So now our photo is unlocked. But sometimes the Quick Selection Tool makes the photo's edges a little unclean, so take the brush tool and click on the brush icon in the editing bar. Lower the brush's Hardness so the edges are softer and look more natural when you clean up the edges.
Zoom in a bit and paint over the messed up areas in white.
Camera files are usually really big so now we need to re-size the whole image...
...And crop it.

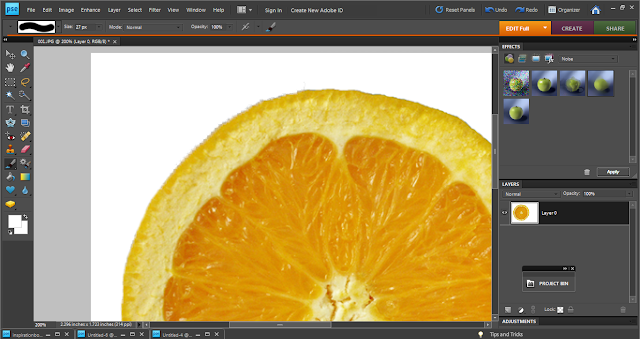
Now zoom in all the way so it's at 100% and select the Magic Eraser Tool by right clicking on the eraser icon and choosing it from the list that pops up. Use the tool on the white area and it will make it transparent.

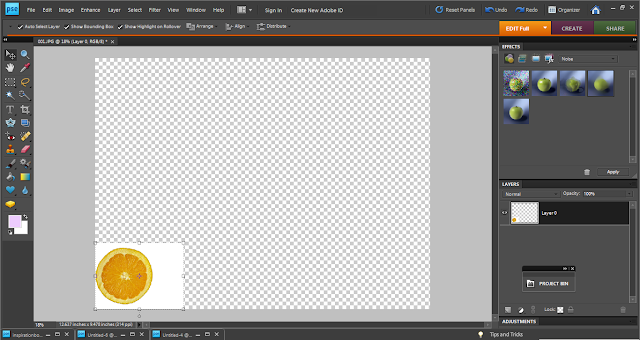
You're almost done! Just crop the photo so there's not so much blank space and save it as a sticker.

Now you can get it onto any background by dragging it to the image.


Ta da!
Have any questions? Feel free to email me at
